Image Resizer
Resize your image to any size by percentage or exact pixel dimensions. Lock the aspect ratio to prevent distortion, then download your result instantly. Learn how to resize your image →
What is Image Resizer
The Image Resizer lets you change an image's pixel dimensions by a percentage scale or by specifying exact width and height. It performs client-side scaling using an offscreen canvas so the original image remains on your device and the resized output is produced instantly for download.
How resizing works
Resizing decodes the source image in the browser, draws it to a canvas at the target dimensions, and then exports the canvas content as a new image file. Downsizing reduces file size while preserving visual fidelity in most cases; upscaling cannot add real detail and will often produce softer results.
Quality, interpolation and tradeoffs
- Downscaling: preserves perceived quality and reduces bytes; suitable for thumbnails and web delivery.
- Upscaling: limited by source resolution—avoid excessive upscaling (e.g., >2x) to prevent pixelation.
- Interpolation: browsers use built-in resampling; results vary by engine.
Practical tips
- For web, aim for moderate dimensions (e.g., 1200–2048px on the long edge) to balance quality and performance.
- Use percentage mode for quick proportional scaling; use exact dimensions when a precise pixel size is required.
- Keep a copy of the original file if you expect to re-edit or export at larger sizes later.
When to use
Use the resizer when you need to prepare images for specific display contexts (web pages, email, thumbnails), reduce file weight for faster uploads, or adjust images to meet platform requirements.
FAQs
- Q: Can I preserve aspect ratio? A: Yes — enable the aspect lock to maintain proportions while changing one dimension.
- Q: Is resizing local? A: Yes — resizing occurs in your browser via an offscreen canvas; files are not uploaded.
- Q: Will file size always decrease? A: Usually when downscaling, but file size also depends on format and compression settings.
- Q: Can I batch resize? A: This UI focuses on single-image operations; for many images use a batch tool or script.
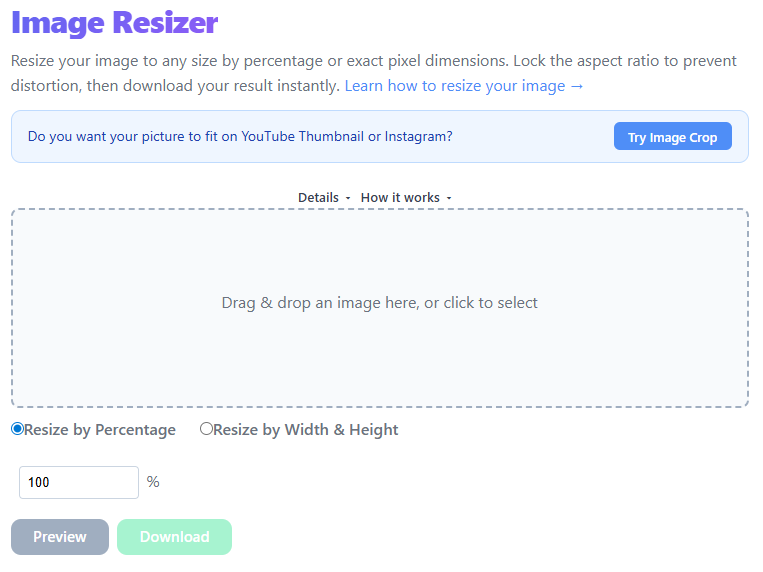
Choose a source image by drag & drop or browsing.
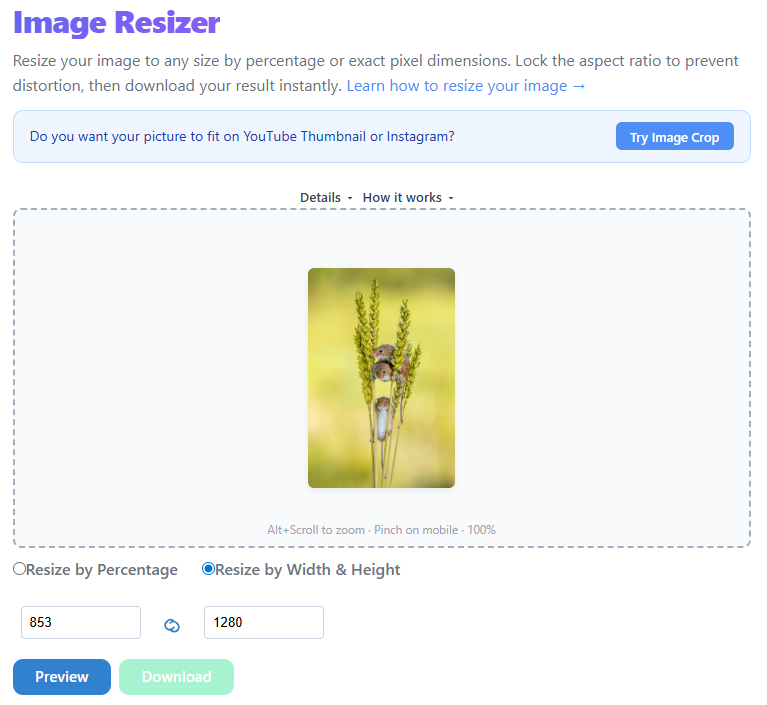
Select percentage or explicit width/height and lock the aspect ratio if needed. You can use Alt+Scroll or Pinch to zoom on mobile in the preview.
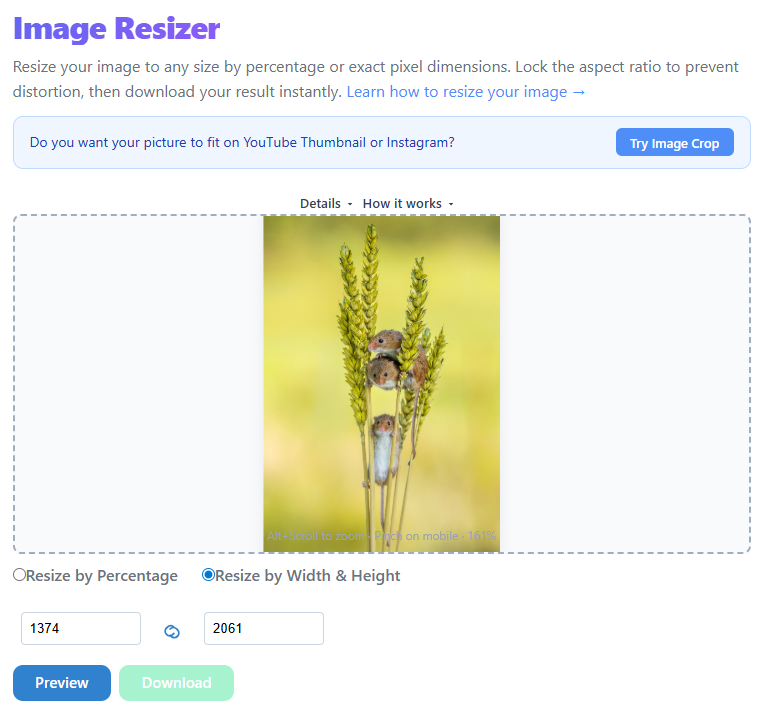
Click Resize to run client-side scaling and produce the output file.

Preview and download the resized image.
The Complete Guide to Resizing Images Without Losing Quality
Resizing images seems simple — until you end up with blurry, pixelated, or distorted results. Whether you're uploading photos to a website, sending images by email, or optimizing for performance, resizing the right way matters more than most people think.
- How image resizing actually works
- Why quality loss happens
- The best ways to resize images without ruining them
- Practical tips you can use immediately
What Does "Resizing an Image" Really Mean?
Resizing an image means changing its dimensions — usually width and height in pixels.
This process is called resampling, and it directly affects quality.
Why Do Images Lose Quality?
Pixel Loss — When reducing size, pixels are permanently removed. If done poorly, edges become jagged and fine details disappear.
Poor Resampling Method — Not all resizing algorithms are equal. Nearest Neighbor is fast but blocky. Bilinear is smoother. Bicubic is best for most cases.
Repeated Resizing — Every resize discards more data. Always resize from the original image, never from a previously resized copy.
Best Practices to Resize Without Losing Quality
Maintain Aspect Ratio — Always keep width and height proportional.
Resize Once — Start with the original → resize once → save the final version.
Choose the Right Format — JPEG: smaller size, slight loss. PNG: higher quality, larger file. WebP: best balance.
Avoid Over-Compression — Aim for balance, not maximum compression.
Common Use Cases
Website Uploads — Resize large images (4000px → 1200px) to dramatically improve page load speed.
Social Media — Resizing ensures no cropping issues and better visual quality across profiles, posts, and thumbnails.
Email Attachments — Large images slow down sending and may be rejected. Resizing keeps files manageable.
Mistakes to Avoid
Quick Step-by-Step Guide
- Upload your image
- Choose desired width or height
- Keep aspect ratio enabled
- Select output format (JPEG / PNG / WebP)
- Download resized image
FAQ
Does resizing reduce quality?
Yes — but if done correctly, the loss is minimal and often unnoticeable to the human eye.
Can I resize without losing any quality?
Only if you're not reducing size significantly. Otherwise, some data loss is unavoidable.
What's the best format after resizing?
Web: WebP or JPEG — High quality archival: PNG
Is it better to resize or compress?
They serve different purposes. Resize changes dimensions; Compress reduces file size. Best results come from using both carefully.
Conclusion
Resizing images isn't just about making them smaller — it's about doing it correctly to preserve clarity and usability. By maintaining aspect ratio, resizing once from the original, and choosing the right format, you can significantly improve both image quality and performance.
Try the Image Resizer →