Image Resizer — Resize Images Quickly and Privately in Your Browser
A complete walkthrough for using the Image Resizer tool on THRJ. This guide covers the basic workflow, useful tips, platform size references, and privacy notes so you can shrink or scale images fast without installing any software. Open the Image Resizer
Why Resize Images?
Image resizing is one of the most frequent tasks in digital content workflows. Whether you are a photographer preparing files for a client, a blogger optimizing images for page speed, or a developer testing UI layout, resizing helps deliver the right dimensions and file size for the job.
Overview
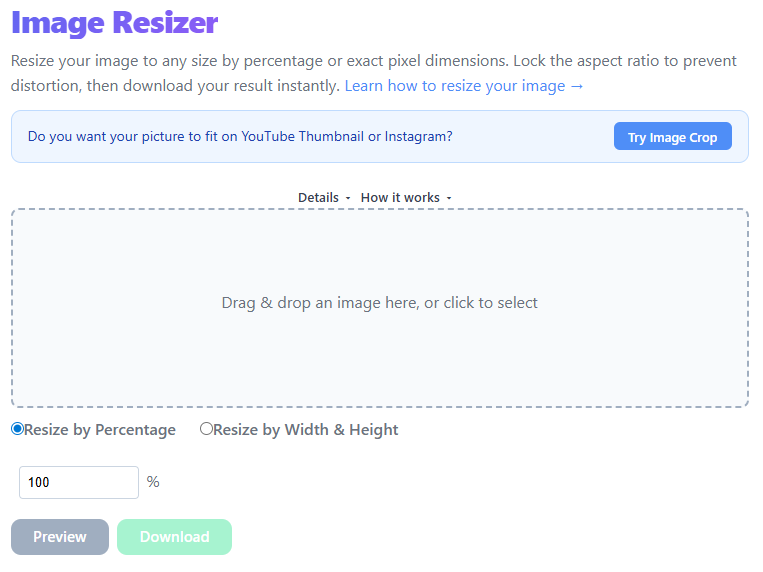
Image Resizer makes it easy to change image dimensions, scale for web or print, and reduce file size without leaving your browser. It supports common formats (JPEG, PNG, WebP) and offers presets for common targets like social posts or thumbnails.
Quick steps
- Open the Image Resizer page:
/image-resizer. - Drag & drop an image or click to select files from your device.
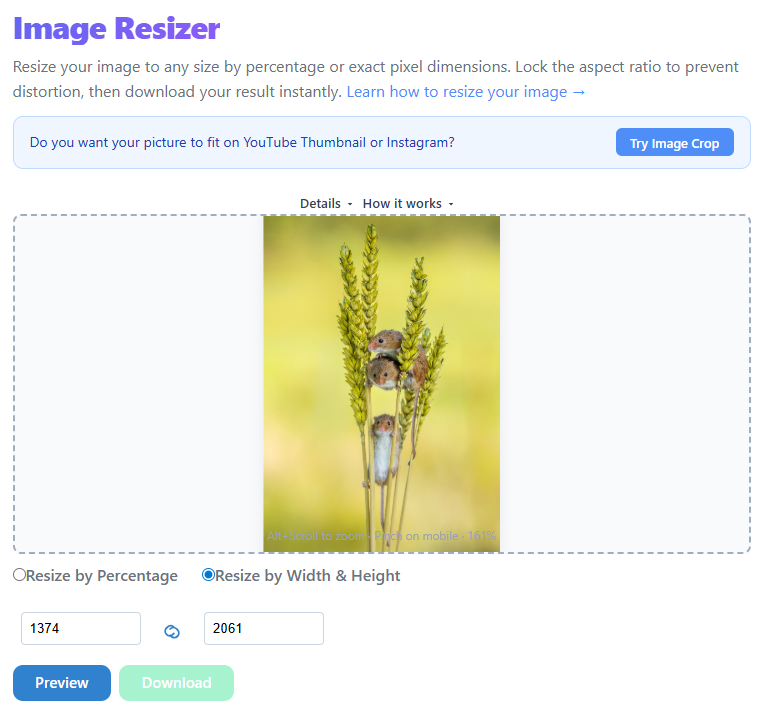
- Use Alt+Scroll or Pinch to zoom in and out of the image preview.
- (Optional) Adjust image quality/compression.
- Click Resize and download the resized image.
Step-by-step with screenshots
1. Upload an image
Drop one or more images into the uploader or use the file picker. The uploader displays filename, dimensions, and original size.
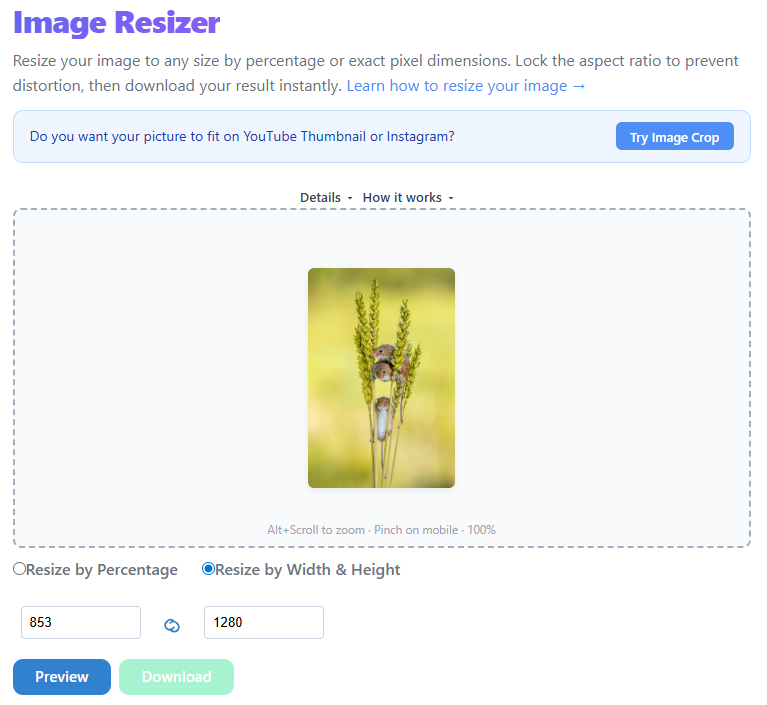
2. Pick size or preset
Select a preset for common destinations or type custom width and height. Keep aspect ratio locked to avoid distortion unless you need a different shape.
3. Adjust quality and resize
Choose a compression/quality level if you want smaller files. Click Resize — a progress indicator appears and the resized image becomes available for download.

Tips
- Use presets for quick, consistent results across social platforms.
- Lower quality slightly for big file-size savings when images are for web use.
- Keep the aspect ratio locked unless you specifically need a different shape.
- For batch edits, upload multiple files and download a ZIP of resized images.
Standard Image Sizes by Platform
| Destination | Recommended dimensions | Notes |
|---|---|---|
| Instagram post (square) | 1080 × 1080 px | 1:1 aspect ratio |
| Instagram post (landscape) | 1080 × 566 px | 1.91:1 aspect ratio |
| Instagram Stories / Reels | 1080 × 1920 px | 9:16 aspect ratio |
| Twitter / X header | 1500 × 500 px | 3:1 aspect ratio |
| Twitter / X post image | 1200 × 675 px | 16:9 aspect ratio |
| Facebook cover photo | 820 × 312 px | Displays at 820×312 on desktop |
| LinkedIn company banner | 1128 × 191 px | |
| YouTube thumbnail | 1280 × 720 px | Minimum 640 × 360 |
| Blog hero image | 1200 × 630 px | OpenGraph standard |
| E-commerce product (Amazon) | 2000 × 2000 px | Minimum 1000 × 1000 |
Understanding Image Quality and File Size Trade-offs
When you resize and compress an image, two things are happening: dimension reduction (fewer pixels) and compression (quality slider controls). As a rule, use quality 85% for hero images and 70–75% for thumbnails.
Privacy
All resizing and compression runs entirely in-browser using the HTML5 Canvas API. Your images are never uploaded to a server. This makes the THRJ Image Resizer safe for confidential, personal, or proprietary images.
Frequently Asked Questions
Does resizing affect image quality? Reducing dimensions discards pixels; always keep an original copy.
What is the difference between resizing and cropping? Resizing scales the entire image; cropping selects a portion. Use crop then resize for best results.
Can I resize to a specific file size? Not directly; combine lower dimensions with quality 75–80% to reduce file size.
Does the resizer support batch processing? Yes — upload multiple files and the tool will process each and offer batch download.
Published by THRJ Tech